
Deco Ideas and Renovations
Moldings: How to choose and install them efficiently
Whether they are practical or decorative, moldings are indispensable in the home. You want to install them yourself? Here are our tips from the pros!
Their usefulness
Practical moldings!
First, what are moldings used for? Around a door or window, they hide construction materials such as bed planks and unsightly joints. The moldings at the bottom of the walls (called baseboards) hide the space between the floor and the wall. In addition to playing a finishing role, moldings help prevent water infiltration and protect the wall from shocks at its base.
Their decorative function
Moldings can also have a purely decorative function:
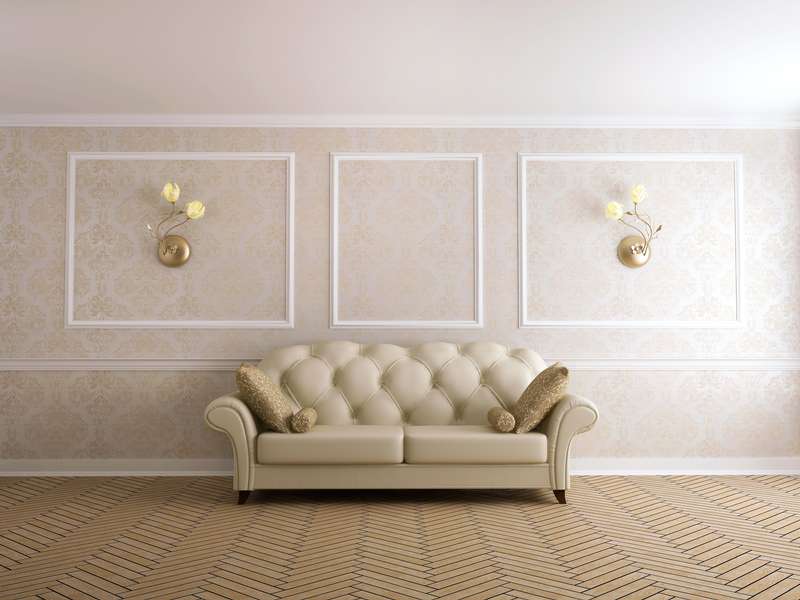
Picture frame : They can be placed in a picture frame in the center of a wall like those fashionable in the 80s.
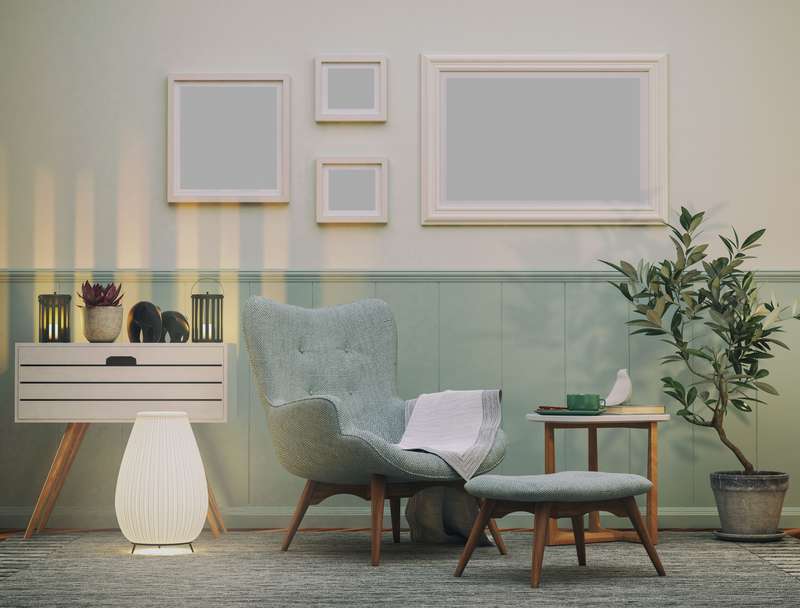
Panelling : Moldings that completely cover a wall are often seen in old-fashioned homes. However, painted in a fashionable colour such as an ochre yellow or pastel hue, panelling can become fashionable again. Also, mouldings can be put on the entire lower half of a wall, which gives a classic look.
Crown Cornice : They can be placed at the junction of the ceiling and wall, adding character to a room and giving the illusion of higher ceilings.
Frame : The moldings can also be used to create a frame, for example to outline a wallpaper or an accent paint colour.
Wallpaper : Whether they are installed in frames, half walls or full walls, with the combination of baseboards and grooves and picture frames, wallpapers and moldings are perfect combinations that optimize, enrich and update your interior. Affordable and timeless, they are excellent ways to create durable and warm living spaces.
Features to consider
The width
To choose the width of a molding, go with your personal taste. It will not influence its usefulness. Today’s trend is for a wider size, with square lines rather than curved lines. But if you have a country style décor, a more delicate moulding will harmonize better.
The material
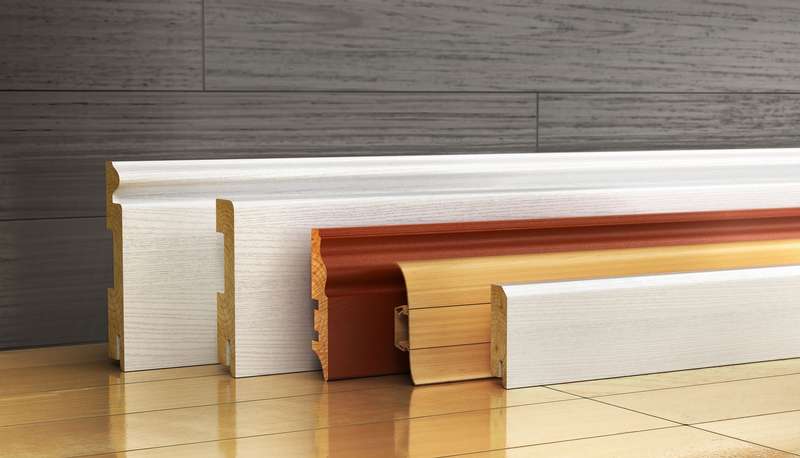
Moldings can be made from a variety of building materials, including vinyl, plaster, polyurethane, wood or medium density fibreboard (MDF). In our homes, it is mainly solid wood and painted MDF that are used. Some companies now offer more eco friendly moldings made of almost 100% natural fibres and recycled materials. Choose them according to your budget!
Appearance : little-know possibilities
The Moldings are usually discreet, painted in the same colour as the wall or in white. But there are some, less known models. For example, those with a brown wood finish, which gives a chic contemporary style. Others are pre-painted and feature a textured colour. Opt for the type that appeals to you and blends in well with your home décor.
Wanting to install it yourself? Follow these tips!
The steps to follow
Before you start: It's best to paint moldings and walls before installing them to make the job easier. Also, opt for longer mouldings that will limit the joints between them, which is more aesthetic. Also, it is preferable to install your floor before the baseboards to avoid unflattering spaces.
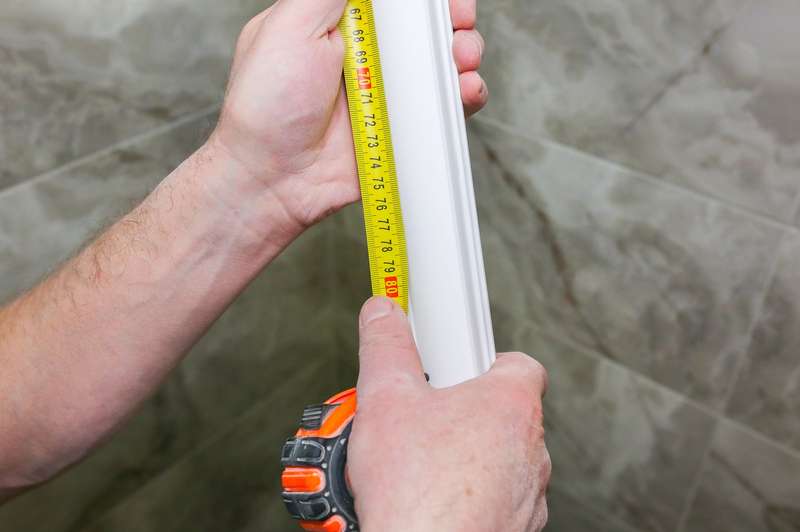
Step 1 : Take your measurements to determine the quantity of moldings to buy. It is wiser to buy 10% more than the calculated quantity, as there will undoubtedly be material losses.
Step 2 : Make your purchases. Go to a hardware store or decorating store - such as some Deco Surfaces retailers - to choose your molding and get the right quantity
Step 3 : Let the moldings acclimate to the room for a few days. In fact, the material may change slightly in contact with the room temperature and humidity level. This step will prevent post-installation shrinking.
Step 4 : Cut the moldings with a miter saw with at least 40 teeth in order to make a clean cut. It is best not to do this task in a small room to avoid the accumulation of sawdust and other dust. If you can, go outside. Since the pieces are likely to be long (the standard length is about 5 meters), install them first on racks to secure the cut. Don't forget to make bevelled cuts so that the pieces fit into each other.
Step 5 : Find out where to start the installation. It is preferable to install your first piece of molding by the inside corners and then move towards the outside corners.
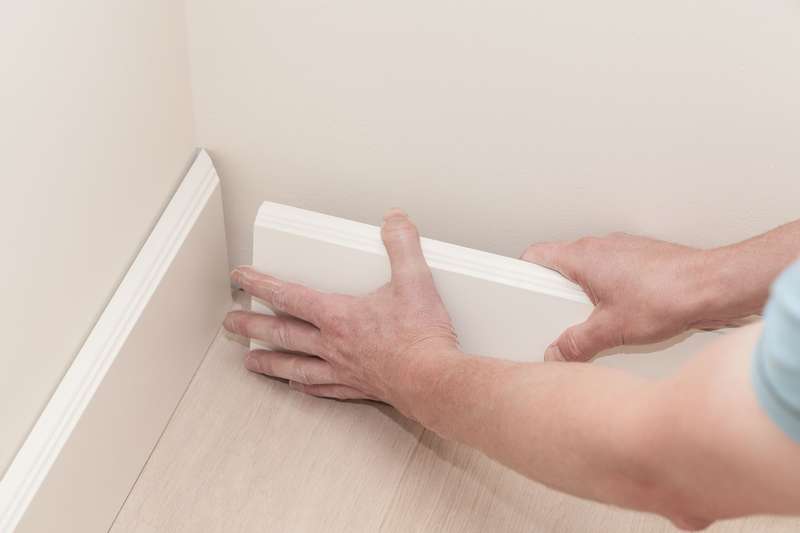
Step 6 : Secure them to the wall. To do this, small, discreet nails (1 ½ inch) are ideal. Do not take them longer than 5 centimeters to avoid piercing the electrical wires in the wall. A hammer can do the job well, but a pneumatic finishing nailer will give a more professional result. A nail - at the top and bottom of the molding - every 30 centimeters is recommended.
Step 7 : If it is a baseboard, add a sealant between the wall and the top of the molding, if desired, for a more beautiful finish.
To help you choose the perfect molding for your home, meet with an expert at one of the Déco Surfaces retailers. Psst! Some stores carry several models that match different decors styles.

